Lilies (Lilium) have some of the most spectacular flowers and make a vibrant and fragrant addition to any garden. If you are keen to fill up your garden with lilies, there are several ways to grow them. You can plant them from seed, grow them from bulbs, or even propagate stem cuttings.
What you may not know is that you can also grow an abundance of lilies in your garden from scales. Not only is this a faster way to fill your garden with these strikingly beautiful plants, but it is very simple to try at home even if you are a beginner gardener. Keep reading to find out why scaling is an ideal way to yield more lilies in your garden, and to follow a step-by-step guide on how to successfully grow your lilies from scales.
What is a Scale?
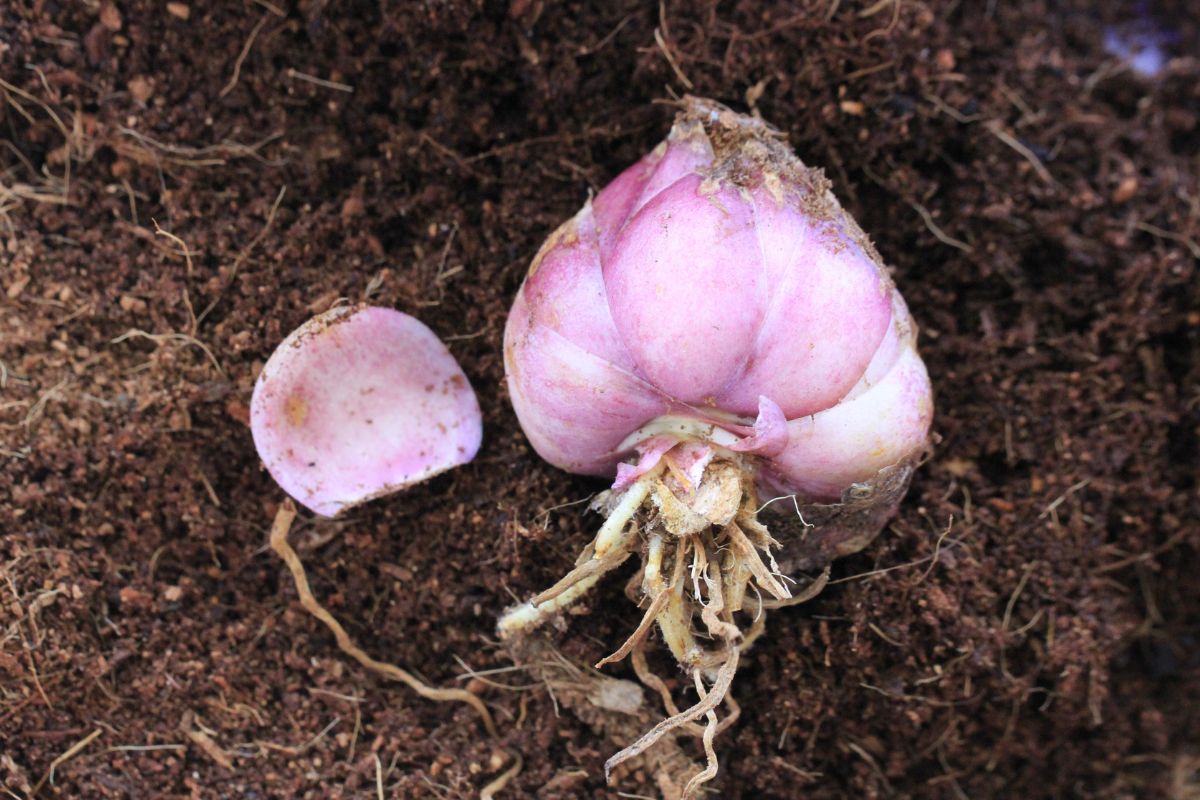
If you look closely, all lily bulbs are made of small, tightly wrapped scales. These layers of scales can look similar to an artichoke or an onion. Despite being under the soil, scales are considered modified leaves. They store food for the lily plant. This helps lilies to grow back once the stem has been cut.
Since the individual scales have everything they need to grow new plants, you can remove them from the bulb and propagate them to create multiple new lily bulbs. These new bulbs will be genetic duplicates of the "mother" plant. This method differs from propagating lilies by seed, which occurs through pollinating two different plants.
What are the Benefits of Growing Lilies from Scales?
If you're interested in expanding your lily garden or containers in a budget-friendly way, propagating from scales is a great option. You can get a much higher yield of beautiful lily plants with only a few bulbs to start. When propagated correctly, scaling lilies has a very high success rate and you can even yield multiple bulbs from a single scale.
It's also common for scales to break off the bulbs while planting them, so this is a fun way to ensure that those pieces aren't wasted. You can still get a successful propagation from what otherwise would have been a mistake.
Drawbacks to Scaling Lilies
While there are very few drawbacks to propagating lilies from scales, there are some challenges that you will want to be aware of before getting started. Since you are creating a clone of your original lily bulb, any diseases or viruses the mother bulb may have will pass down to what is commonly referred to as the ‘daughter bulb’. You will want to be extra careful to choose healthy lily bulbs to start with, to have a successful and healthy propagation.
The other downside to scaling lilies is that the process is slower than planting whole bulbs. While individual species of lilies can vary, you are looking at the following timelines to blooming:
- A mature, healthy bulb: 1-2 seasons
- Lilies grown from scales: 2-3 seasons
- Growing lilies from seeds: 5-7 seasons
While growing your lilies from scales can result in waiting an extra season, you may find that they are worth the wait if you are patient.
How to Grow Lilies from Scales (A Step-By-Step Guide)
Before you begin, always wear gloves while propagating your lilies, as they are considered toxic plants. Keep your lilies, lily bulbs and scales out of the reach of pets or children to keep everyone safe.
1. Start with healthy lily bulbs
Growing thriving lilies from scales starts with a fresh, mature lily bulb. The bulb should be moist but still firm. Avoid working with bulbs that are overly dry or too squishy.
2. Removing the scales
Gently peel the top of the scale until it breaks away from the bulb's base. When removing a scale, make sure you also remove the basal plate. The basal plate is the thicker part of the bottom of the bulb near the roots. If you snap the scale above the basal plate, this will not result in a successful propagation. If you struggle to get the basal plate, gently remove the scale with a sterilised knife for better accuracy.
If you want to replant the original lily bulb, only remove the outer 2-3 layers of scales from the bulb. Otherwise, you can remove more layers if needed. The thicker, more robust outer scales tend to have a higher success rate as they are healthier.
Once you remove your scales, leave them in a dark, dry place for 1-2 days to allow the wound (the location where the scales were broken off) to form a callous. This will help prevent rotting and minimise the chances of fungal infections or disease.
3. Propagating your lily scales
Once the wound has had some time to callous over, you can propagate your lily scales with different methods:
The first method is to put your lily scales in a plastic bag with moist vermiculite. Keep the bag in a cool, dark location for approximately 4-6 weeks, checking every few days to ensure the vermiculite remains moist.
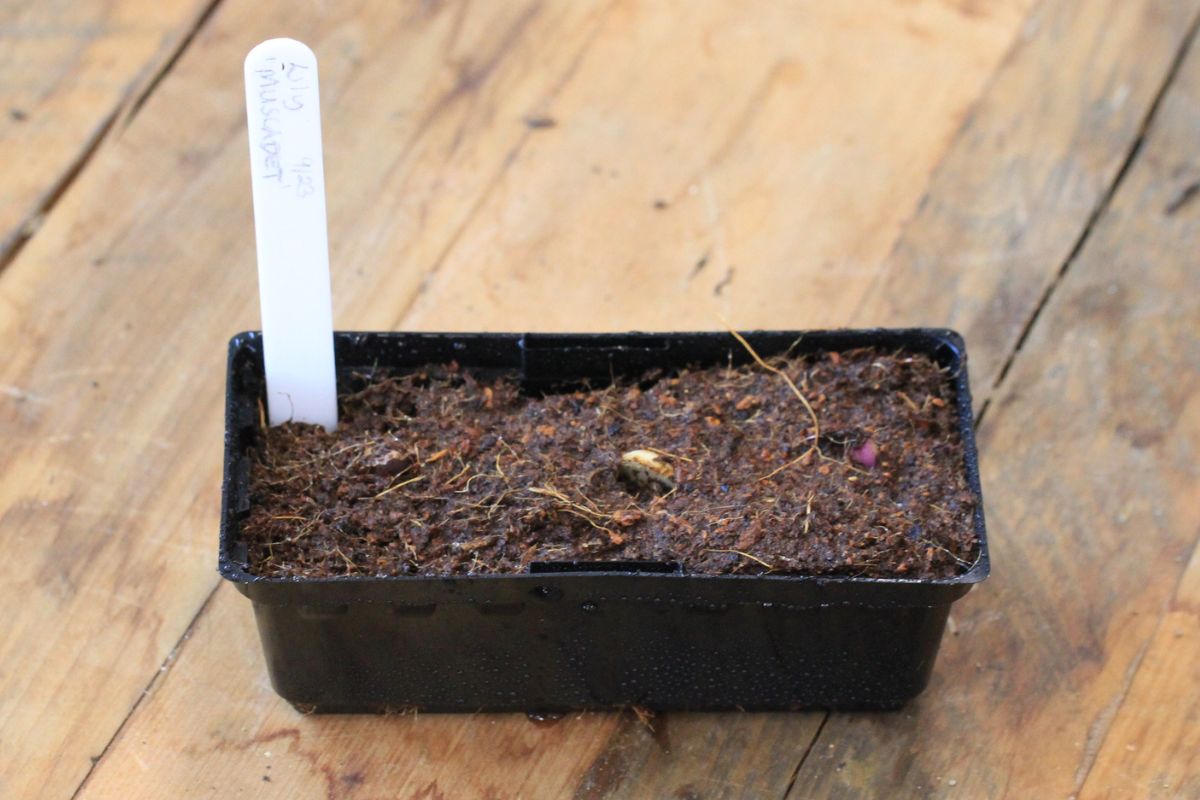
The second method is to use a seedling tray with drainage holes. Add high-quality potting soil to the trays. If you'd like, you can also mix in 50% compost for additional nutrition. Otherwise, everyday potting soil works just fine.
Poke a small hole in the soil, and then place your lily scale inside the hole with the basal plate pointing downward. The tip can poke out of the soil.
You could also lay your scales flat on top of the soil with the curved side facing upwards in a "u" shape. Lightly cover your scales with approximately 3cm of your soil mix.
Next, you can water your scales and place a lid over the tray to help maintain humidity levels. Place your tray in a cool, dark place for approximately 4-6 weeks. During this time, you should check on it once or twice weekly to ensure the soil remains moist.
4. Caring for the new bulbs
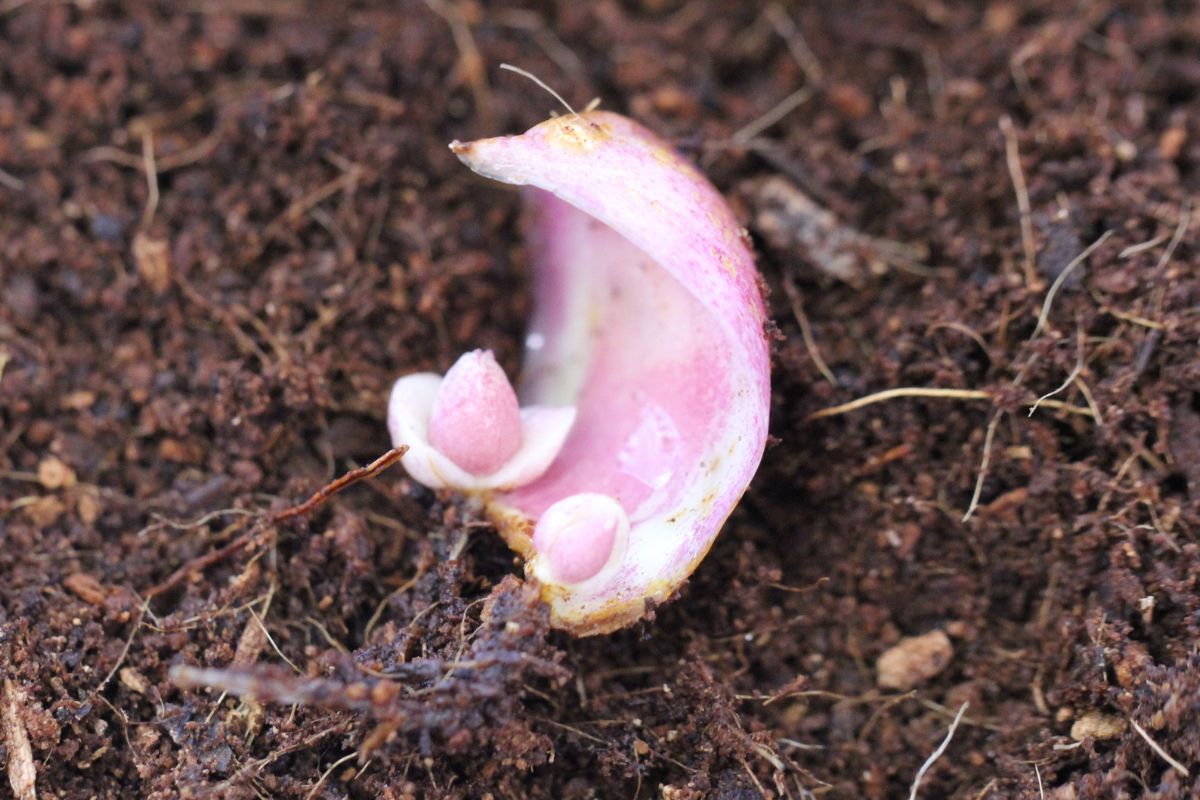
After about 4-6 weeks, your scales may grow tiny pea-sized bulbs known as bulblets. Some scales may produce multiple bulblets; you might even find 4-6 bulblets per scale. Your scales may even sprout new growth above the soil or form tiny roots from the basal plate.
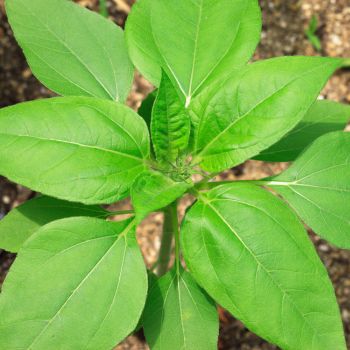
Once your lilies have produced shoots poking out of the soil, they can be transplanted into their own containers. Place them in a warm, sunny location.
The first season of growth tends to be minimal. Many gardeners prefer to grow their baby lilies in containers for the first year or two to help avoid pressure from weeds. It is a slow process but well worth it! You can expect beautiful flowers from your newly propagated lily bulbs in roughly 2-3 seasons.
Common Problems
While growing lilies from scales is fairly easy, here are a few challenges you may encounter and how to fix them.
Mould and rotting scales
Mould and rot can occur with your scales if the soil or potting medium is too wet. Check on your scales regularly to ensure that the medium remains moist and monitor for signs of mould or rotting scales. The faster you catch it, the more likely you can save your scales. If you notice mould starting to grow, discard your potting media and start fresh, as mould spores can spread, even if you do not see them. You want to aim for a damp or moist medium for your scales.
Scale failing to grow bulblets
This may happen because the original lily bulb was not healthy enough to propagate. If the bulb either dried out or rotted, you are less likely to have success through scale propagation.
Another potential reason scales fail to propagate is that more of the basal plate needs to be removed with the scale. The basal plate is where the bulblets and the new roots will grow, so each scale you remove should also have the basal plate attached.
Stunted growth in the mother plant:
It is also quite common for your original lily bulbs to produce slower growth and be stunted in size for a year or two after removing some of the scales. This is normal, and as the bulb becomes more robust, you will eventually notice larger flowers and more substantial growth on the mother plant.
Whether you are hoping to multiply your existing lily plants, get a head start on creating the lily garden of your dreams, or just hoping to make use of some broken scales, growing lilies from scales is worth trying this growing season.
.jpg)