How to Grow Taro (Corm)
Grow Guide #3034
Family: Araceae
Binomial name: Colocasia esculenta
Life Cycle: Perennial
This 'How to Grow' guide details everything a home gardener needs to know to plant, grow and care for Taro (Colocasia esculenta).
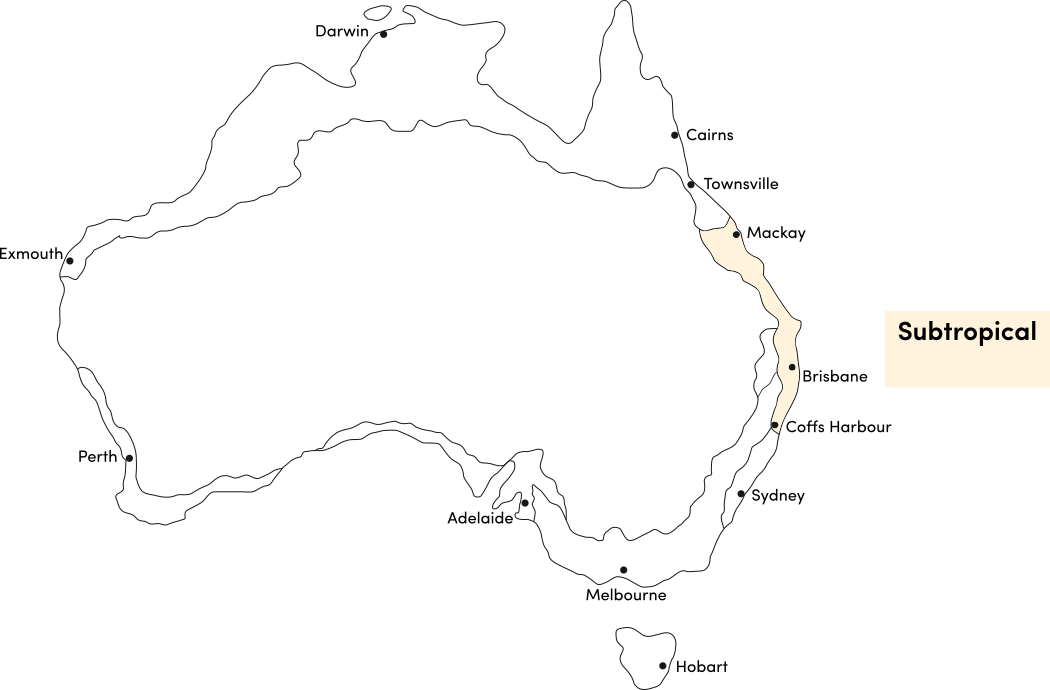
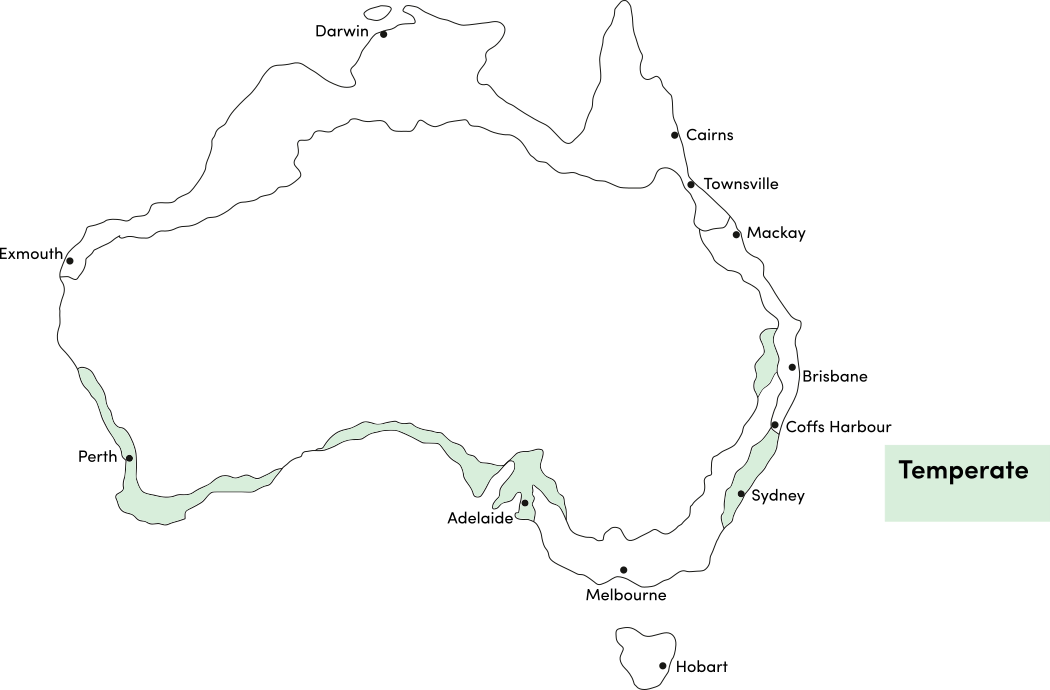
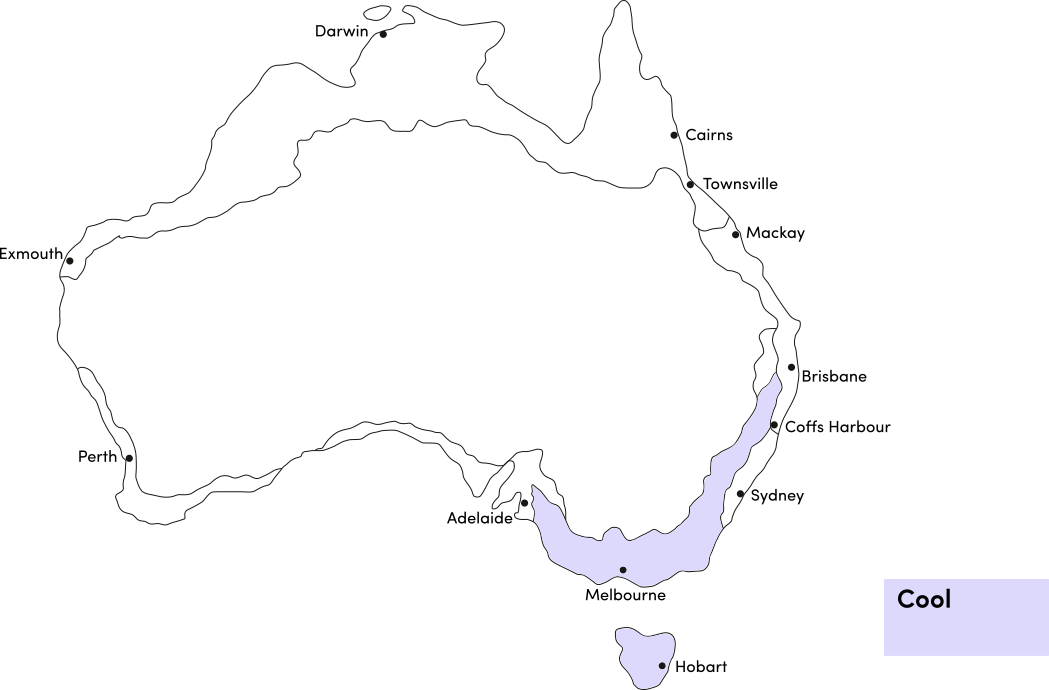
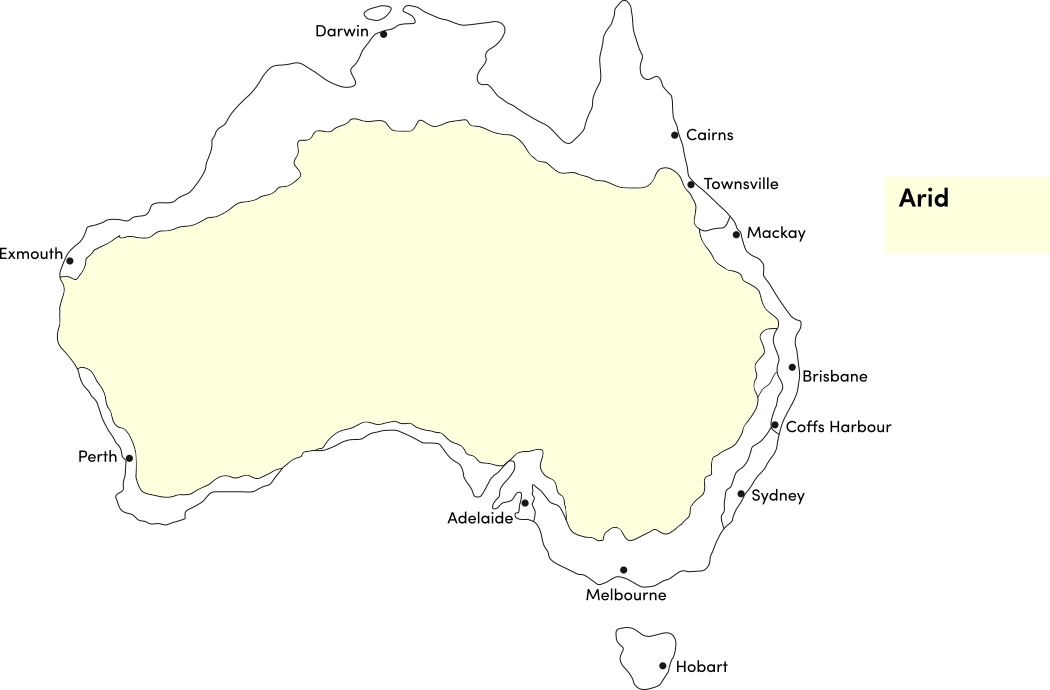
Taro is a perennial plant that grows year round in most climates. Use the table below to identify the best time of year to plant taro corms in your climate.
| JAN | FEB | MAR | APR | MAY | JUN | JUL | AUG | SEP | OCT | NOV | DEC | |
|---|---|---|---|---|---|---|---|---|---|---|---|---|
| Cool | ||||||||||||
| Temperate | ||||||||||||
| Sub-Tropical | ||||||||||||
| Tropical | ||||||||||||
| Arid |
Soil Preparation and Position
Taro is best grown in moist, free-draining, well prepared soil, enriched with plenty of organic matter. Taro is also tolerant of periodically waterlogged soils. Prepare soil by weeding it thoroughly, digging it over to loosen it and adding aged animal manure or compost. Keep the area free of weeds until planting.
Choose a sunny to partially shaded, warm frost-free position. A position that receives morning sun and afternoon shade is ideal.
Taro plants can be grown in large containers, and container growing is recommended for temperate climates. Use a good quality potting mix and make sure your container is large enough for mature plants; a minimum of 75 litres is recommended for taro. During the growing season, keep in mind that container grown plants may need additional fertiliser to encourage healthy growth.
How to Plant and Grow Taro Corms
Planting taro in the ground: Plant taro corms 5cm deep and about 60-90cm apart into the prepared soil. Cover lightly with soil.
Planting taro in pots: Taro can be grown in large pots that are at least 50-60cm deep with approximately the same diameter. Ensure the pot has drainage holes. Plant one taro corm per pot. Fill pots with a quality potting mix and place the taro corm about 5cm deep in the centre of the pot. Cover lightly with potting mix.
Water in newly planted taro corms well, and keep them well watered throughout the growing season. If the soil is allowed to dry out, the plants will become stressed and will produce less corms.
Mulch the surface of the soil to suppress weeds and retain moisture, and fertilise each plant with an all purpose organic fertiliser about 6-8 weeks after planting.
If soil was well prepared no extra fertiliser should be necessary. In poor soil or to give your plants an extra boost, an application of a balanced fertiliser can be beneficial:
- Apply slow release fertiliser at the recommended rate.
- Apply liquid fertiliser at the recommended rate and frequency during spring and summer.
Potted taro may need to be fertilised more regularly.
How to Harvest Taro
Taro has a long growing season and will be ready to harvest approximately 6-9 months after planting when the leaves begin to die down in autumn.
Using a fork, carefully dig up the corms. The corms don't store well, so keep corms for no longer than a month before cooking and eating.
NOTE: Taro MUST be cooked before being eaten. The corms can be boiled, steamed, baked or fried.
Common Problems when Growing Taro
Taro is relatively pest and disease free but like all plants, taro is susceptible to some pests, diseases and other problems. Below is a list of the most common problems gardeners encounter when growing taro plants:
 Aphids are small (2-4mm long) sap-sucking insects that congregate on the new shoots or the undersides of leaves. They can cause leaves to wilt or become discoloured, and also excrete honeydew which can attract ants and other insect pests. To manage aphids, remove them by spraying with a garden hose, apply a soap or alcohol spray, or encourage predatory insects to your garden. Read more about aphids here.
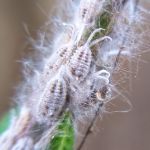 Mealybugs (Pseudococcidae sp.) are small (3-6mm long) sap-sucking insects with white, pink or gray bodies covered in a mealy coating that looks like cotton wool. They can cause leaves to wilt and also excrete honeydew which can attract ants and other insect pests. To manage mealybugs, remove them by wiping leaves, apply a soap or alcohol spray, or encourage predatory insects to your garden. Read more about mealybugs here.
%20(3).jpg) Rotten corms are caused by pathogens entering corms after sitting in cold, wet soil or being temporarily waterlogged. Corms may show obvious signs of rot or have no roots or shoots. If soaking corms before planting, do not soak them for longer than recommended. Plant corms in free-draining soil, raised garden beds or containers. If growing corms as perennials, lift and store them over winter and replant in spring.
Rotten corms are caused by pathogens entering corms after sitting in cold, wet soil or being temporarily waterlogged. Corms may show obvious signs of rot or have no roots or shoots. If soaking corms before planting, do not soak them for longer than recommended. Plant corms in free-draining soil, raised garden beds or containers. If growing corms as perennials, lift and store them over winter and replant in spring. Crown rot is a soil-borne fungal disease that causes the roots and centres of plants to rot. Above-ground symptoms include the lower stems and branches of plants turning brown causing the plant to die from the bottom up. Reduce soil moisture, do not overwater plants, ensure soil is well-drained, or plant in raised beds or containers.
 Slugs and snails are molluscs that feed on tender leaves and shoots, mostly at night, leaving slimy trails behind them. Control them by removing their hiding places, keeping free range poultry, collecting them by torchlight or by placing traps. Read more about slugs and snails here.
 Whitefly is a sap-sucking insect related to aphids. They are often found in large numbers on the underside of leaves and will swarm in clouds when disturbed. Plants may have yellowing leaves or may wilt, and growth will be slowed. Whitefly can be removed with a garden hose or sprayed with soap spray. Badly affected plants should be destroyed. Attracting beneficial insects that will prey on whitefly can be beneficial. Read more about managing whitefly here.

.png)
