How to Grow Perilla Seeds
Grow Guide #2303
Family: Lamiaceae
Binomial name: Perilla frutescens
Life Cycle: Annual
This 'How to Grow' guide details everything a home gardener needs to know to plant, grow and care for Perilla (Perilla frutescens).
When to Sow Perilla Seeds
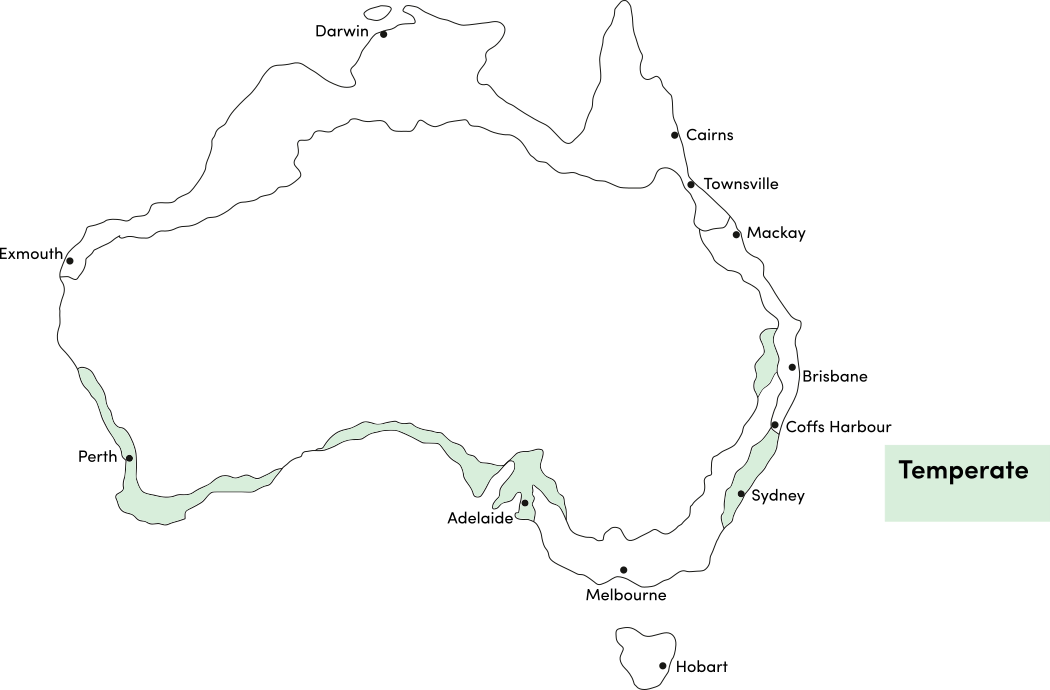
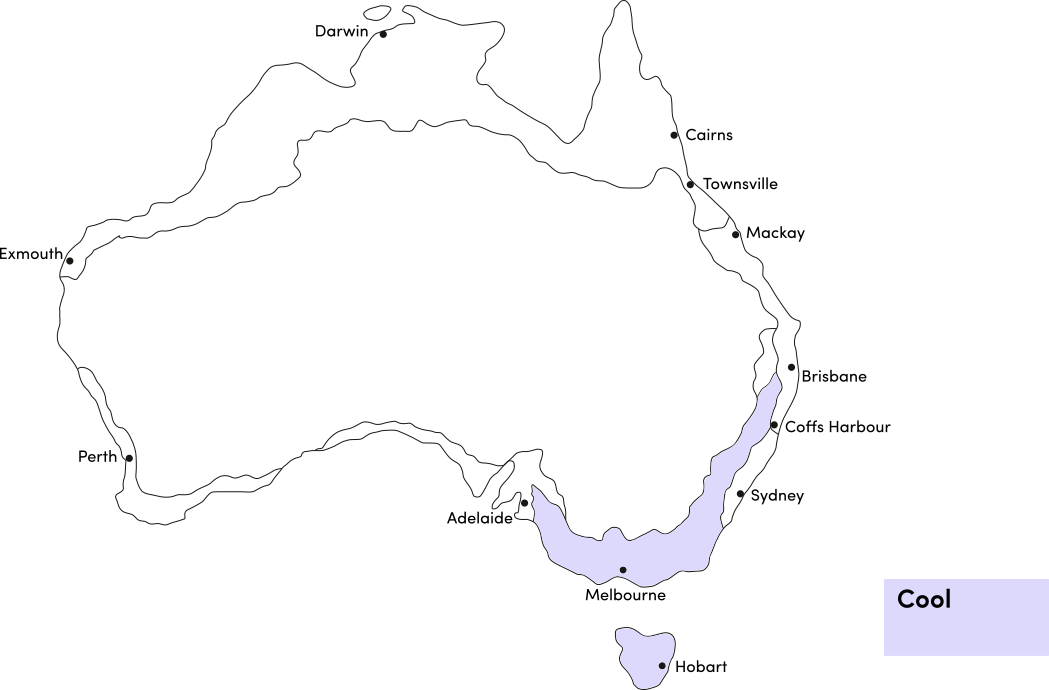
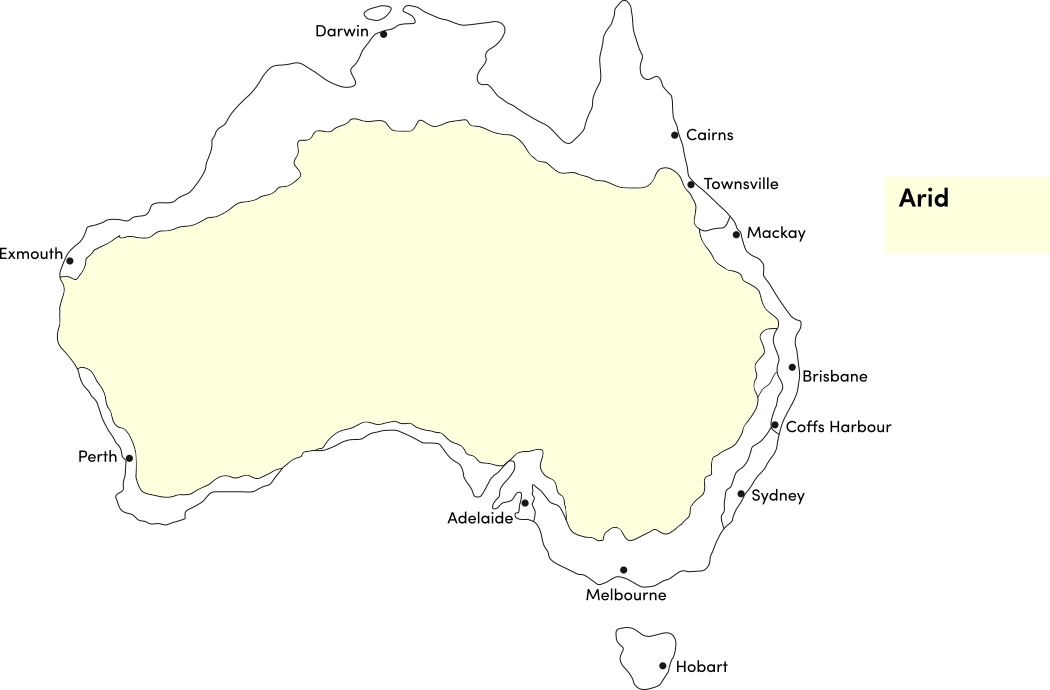
Perilla is a warm season crop. Use the table below to identify the best time of year to sow perilla seeds in your climate.
| JAN | FEB | MAR | APR | MAY | JUN | JUL | AUG | SEP | OCT | NOV | DEC | |
|---|---|---|---|---|---|---|---|---|---|---|---|---|
| Cool | ||||||||||||
| Temperate | ||||||||||||
| Sub-Tropical | ||||||||||||
| Tropical | ||||||||||||
| Arid |
Preparation
Perilla plants are best grown in full sun or part shade. Choose a location that will receive at least 3 hours of full sun each day.
Perilla plants need a well drained soil enriched with plenty of organic matter. Prepare soil by weeding it thoroughly, digging it over to loosen it and adding aged animal manure or compost. Keep the area free of weeds until planting. Learn more about preparing soil for planting here.
Perilla plants can be grown in containers. If possible choose a variety that’s recommended for container growing. Use a good quality potting mix and make sure your container is large enough for mature plants; a minimum of 20 litres is recommended for perilla. During the growing season, keep in mind that container grown plants may need additional fertiliser to encourage healthy growth.
How to Sow Perilla Seeds
Perilla seeds do not require any treatment (eg soaking, stratification) before sowing.
Seed for this species does not store well long-term; use fresh seed each year.
Perilla seeds grow best when they are raised in trays or other containers and transplanted to the garden once established.
- Fill trays, punnets or jiffy pots with a good quality seed-raising mix, or use soil starter pellets.
- Sow seeds 1mm deep.
- Keep soil moist but never wet or dry.
- Seeds should germinate in around 7-21 days at a soil temperature of 19-21°C.
- Transplant seedlings to the garden once they have their first true leaves and are large enough to handle (usually 5-10cm tall).
- Plant out, spacing plants 30cm apart.
Perilla is a tender crop that’s sensitive to frost. Do not transplant seedlings or sow seeds outside until all danger of frost has passed.
How to Grow Perilla
Perilla plants need regular watering during the growing season. Do not let soil dry out; keep soil evenly moist but not waterlogged. Water deeply in the early morning or late afternoon. Avoid watering the leaves of plants to avoid fungal diseases. Learn more about watering here.
If soil was well prepared no extra fertiliser should be necessary. In poor soil or to give your plants an extra boost, application of a high-nitrogen fertiliser or one formulated for leafy greens or herbs can be beneficial:
- Apply slow release fertiliser at the recommended rate when transplanting or when seedlings are 5-10cm tall.
- Apply liquid fertiliser at the recommended rate and frequency during the growing season.
How to Harvest Perilla
Perilla should be ready to harvest in approximately 80-95 days.
Leaves are ready to harvest when they are large enough to eat, and can be harvested as needed. Harvest leaves by pinching off the outer leaves, leaving some on the plant for future growth. Eat leaves as soon as possible after harvesting. Store leaves short term in a perforated plastic bag in the fridge. For longer term storage, leaves can be pickled.
Common Problems when Growing Perilla
Like all plants, perilla is susceptible to some pests, diseases and other problems. Below is a list of the most common problems gardeners encounter when growing perilla plants:
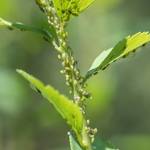 Aphids are small (2-4mm long) sap-sucking insects that congregate on the new shoots or the undersides of leaves. They can cause leaves to wilt or become discoloured, and also excrete honeydew which can attract ants and other insect pests. To manage aphids, remove them by spraying with a garden hose, apply a soap or alcohol spray, or encourage predatory insects to your garden. Read more about aphids here.
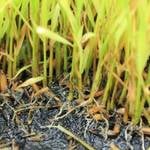 Damping off is caused by a fungal growth that transfers from the soil to seeds or tender seedlings. Seeds may appear not to germinate, or young plants start to rot when they emerge from the soil and become soft and mushy at the base before dying. Use new potting mix if raising seedlings, do not water foliage and avoid waterlogged soil. Read more about damping off here.
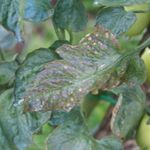 Downy mildew is a fungal disease that causes yellow to grey-brown patches on leaves, especially the undersides. Water plants at soil level (not on the leaves), remove and destroy affected leaves and do not overcrowd plants to ensure adequate air flow. If problems persist, spray with a homemade milk spray or fungicide.
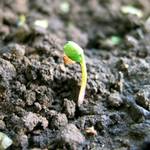 Poor germination may be caused by sowing old seed. Seed for this species does not store well long-term, so use fresh seed each year. Make a note of the sowing date and the expected germination time. Seeds may take longer than the expected time, especially if conditions such as soil temperature are not ideal.
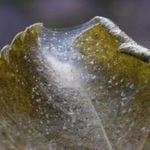 Spider mites (Tetranychus urticae), also known as two spotted mites, are sap-sucking arachnids that cause dry, wilted or discoloured leaves. The undersides of leaves may feel dry and a little like fine sandpaper. Prune plants to allow good air flow or spray with eco-oil or wettable sulphur. Learn more about managing spider mites here.
 Whitefly is a sap-sucking insect related to aphids. They are often found in large numbers on the underside of leaves and will swarm in clouds when disturbed. Plants may have yellowing leaves or may wilt, and growth will be slowed. Whitefly can be removed with a garden hose or sprayed with soap spray. Badly affected plants should be destroyed. Attracting beneficial insects that will prey on whitefly can be beneficial. Read more about managing whitefly here.

.png)

