Many gardeners grow flowers as companion plants, to attract wildlife and pollinators, or simply to add colour and beauty to the garden. Homegrown cut flowers let gardeners bring some of that colour and beauty inside, while being a more sustainable option than buying commercially grown (and sometimes imported) blooms.
A few simple tricks can help gardeners get the most from their homegrown blooms so they look better and last longer in the vase.
1. Know when to pick
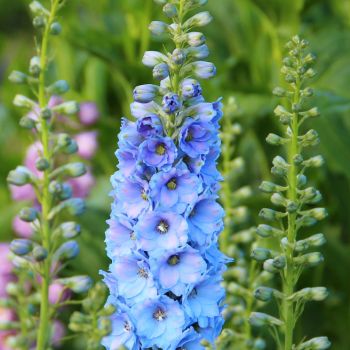
As a general rule, cut flowers will have a longer vase life if they’re cut before the blooms are fully open. Some flowers will continue to open after they’re cut, with roses perhaps the best known example. Cosmos, delphiniums and snapdragons also fall into this category. Cut these when the buds are just starting to open with the first few petals unfurling.
Others, such as dahlias and Queen Anne’s Lace, won’t open much more after they’re picked. For these, wait until flowers are close to fully open before cutting them.
2. Clean your tools
Bacteria is the enemy of cut flowers. It will cause the stem ends to rot and shorten the vase life of the blooms. Bacteria can be transferred through tools when stems are cut or from the water stems suck up or sit in post-harvest.
The snips, scissors or secateurs used to cut flowers should all be cleaned thoroughly between uses. If in doubt about your tools’ cleanliness, use a 10% bleach solution (1 part bleach to 9 parts water), rubbing alcohol or tea tree oil to disinfect them. The bucket you put the flowers in should also be cleaned with soapy water and thoroughly rinsed. Again, if in doubt use a 10% bleach solution.
3. Cut early or late
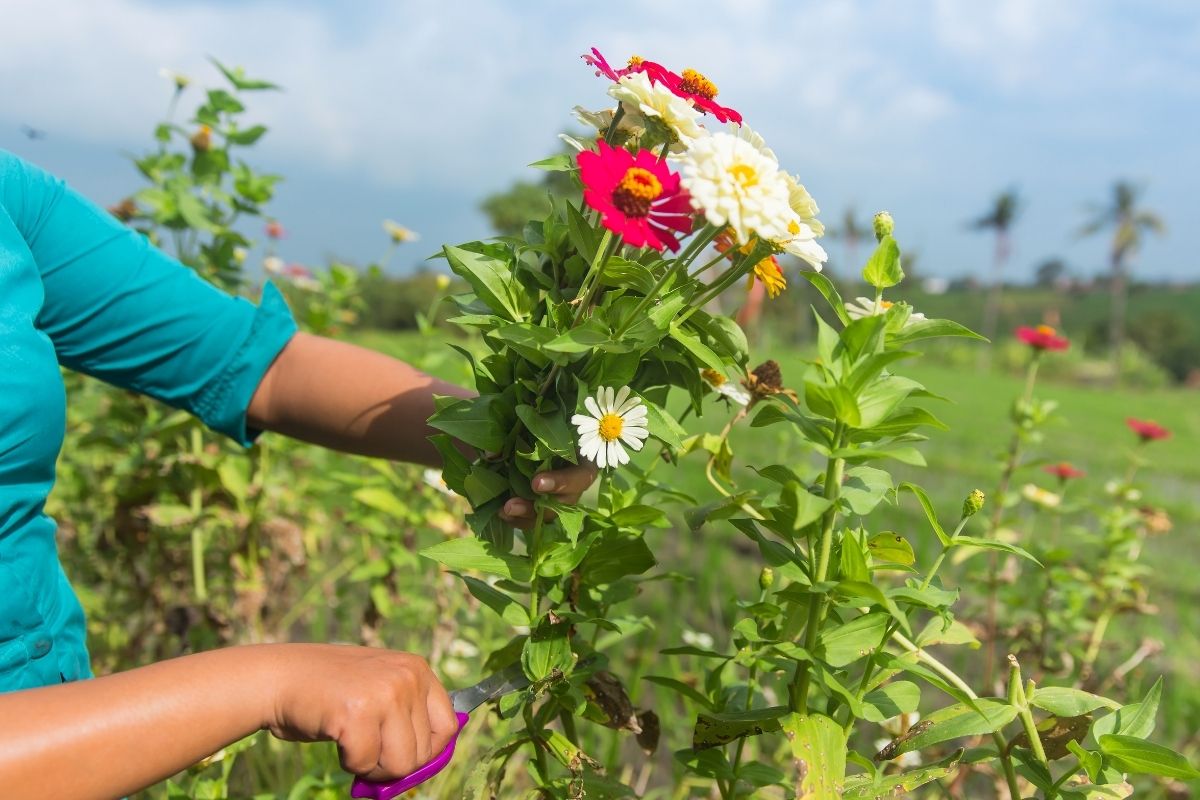
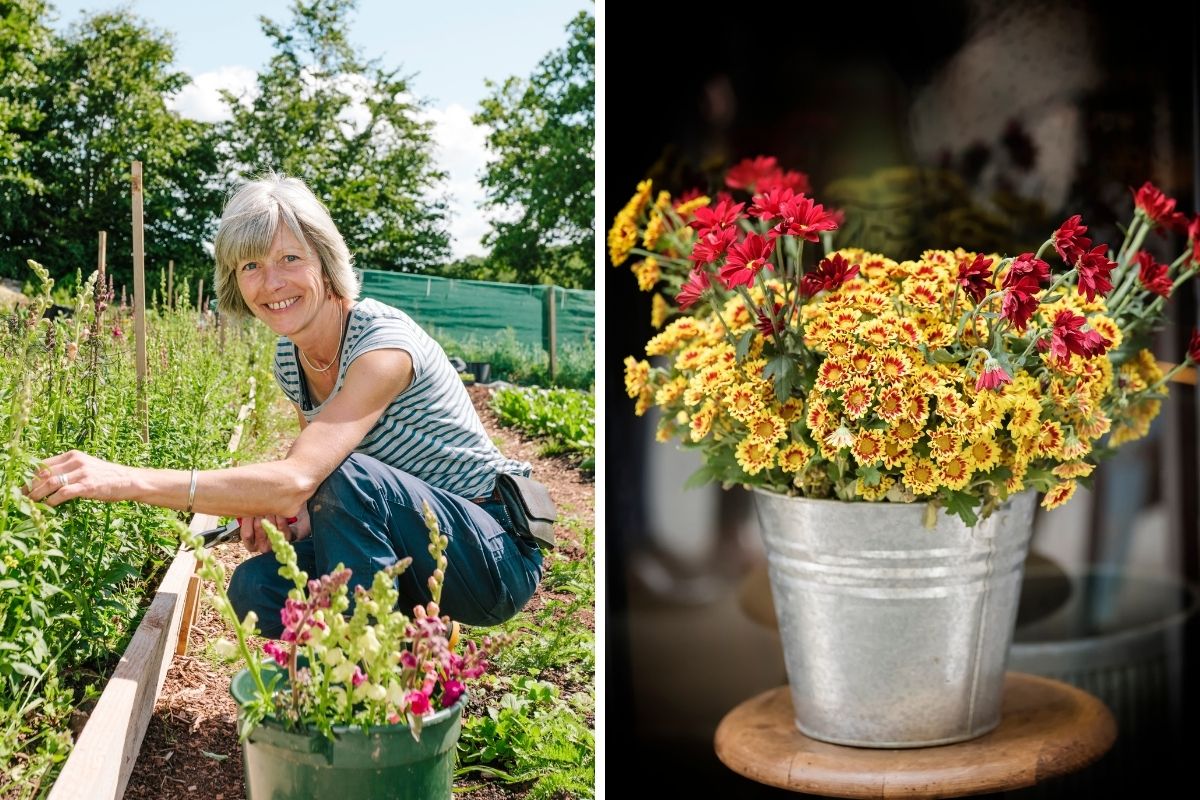
To get the most from cut flowers you want to pick them when they’re at their best, not when they’re stressed by heat or dehydration. Most flower farmers cut their flowers early in the morning, before the sun hits the petals, or in the cool of the late afternoon.
4. Take a bucket with you
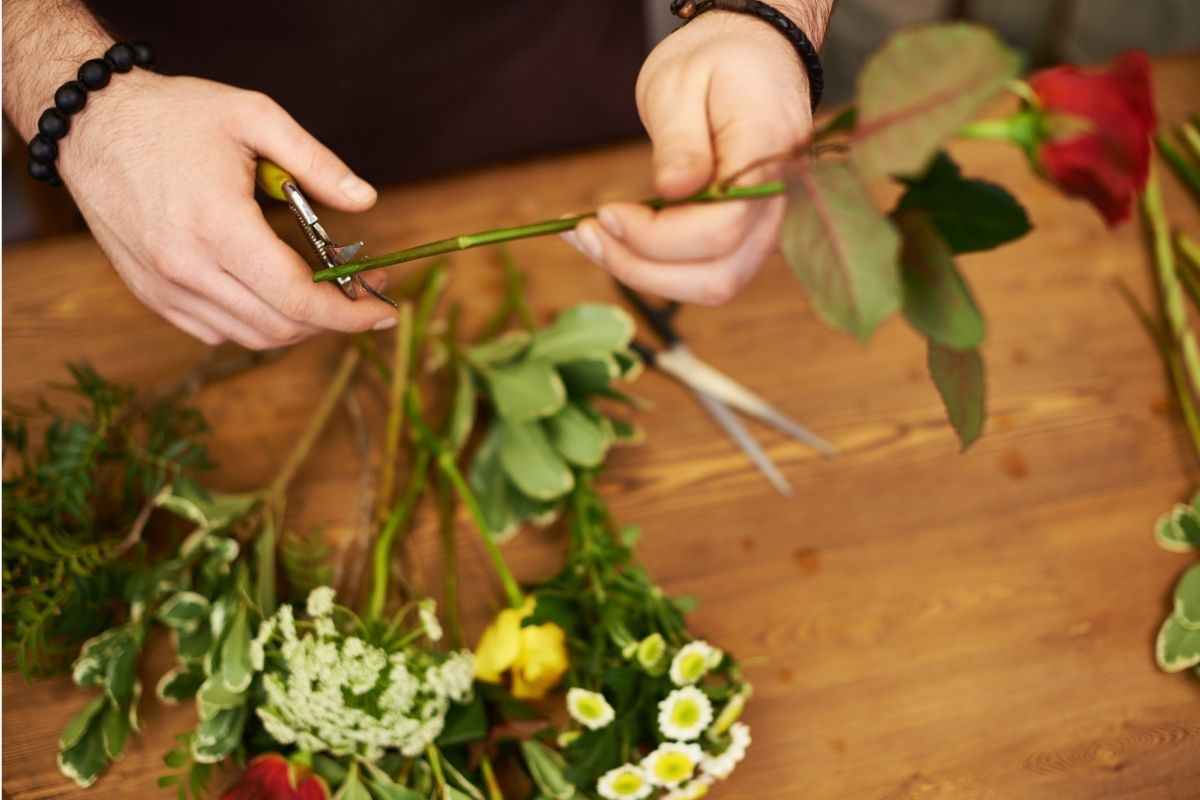
To ensure your flowers don’t wilt after they’re cut, take a bucket of water with you into the garden. Use a sharp, clean pair of snips, secateurs or scissors to cut the stems at a 45 degree angle. Cut flower heads with the longest stems possible. After each stem is cut, remove any leaves or side branches low on the stem so they won’t be submerged in the water. Plunge the stems into the water immediately after cutting them.
5. Leave flowers to condition
Here’s the step that many home gardeners omit in their rush to get flowers into the vase. ‘Conditioning’ flowers involves resting them in a cool place where they can soak up water before they’re arranged. Once flowers are harvested, place the bucket in a cool place; depending on your house this may be the laundry, bathroom or garage. Make sure there’s plenty of water in the bucket and leave it for a few hours or overnight so the blooms will be fully hydrated and the buds will be plump before they’re arranged.
6. Arrange the blooms
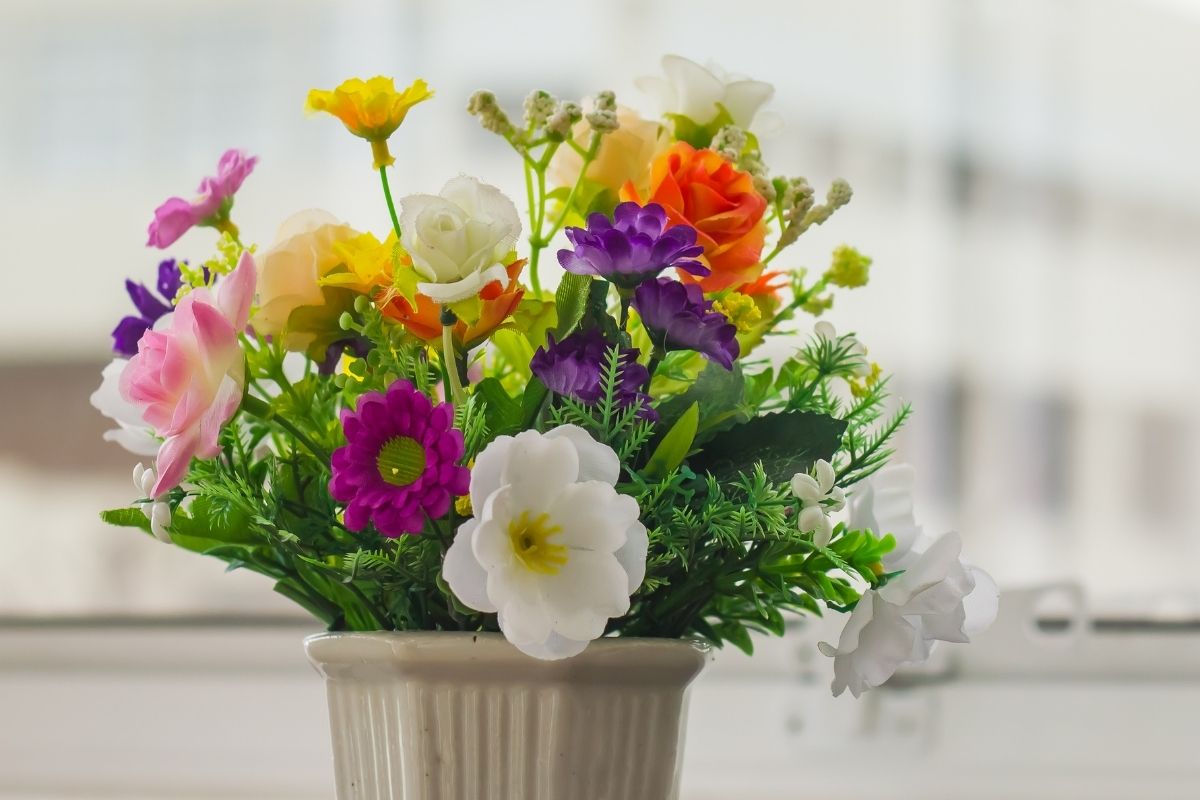
Like your tools, the vase you use should be scrupulously clean. Wash it with dishwashing detergent; again, if in doubt use a 10% bleach solution. Start with the vase full of water. Recut the stems to the desired length, with a 45 degree angle at the end, and arrange them as desired. Make sure there are no leaves underwater as these can rot, reducing the vase life of your blooms.
7. Use a preservative
Sometimes called ‘flower food’, preservatives can extend the vase life of your blooms by a few days. Preservatives usually contain both acids and sugars to kill bacteria and help flowers to take up water.
You can use commercial flower food or make your own. Here’s a simple recipe using common household ingredients:
- 1 teaspoon sugar
- 1 teaspoon household bleach
- 2 teaspoons lemon juice or vinegar
- 1L water
8. Ongoing care
Always place vases of flowers out of direct sunlight and in a cool part of the house. Replace the water every couple of days, and recut the stems if they become soggy or mouldy.
With just a little care, you can enjoy taking flowers from the garden to the vase and get the most from your homegrown blooms.
