Grafting is a fascinating propagation technique that has been practised for centuries. It involves joining two or more plants together so they grow as a single plant. This process allows plants to share a vascular system, the intricate network responsible for transporting fluids and nutrients throughout the plant.
While grafting was once considered a skilled technique requiring precise cuts with a grafting knife, modern tools have simplified the process, making it much more accessible to beginners. Read on to discover the what, when and how of grafting.
Why Graft?
Grafting is particularly useful when the seeds of a plant don't grow true to type or when plants don't root easily from cuttings. Grafting is a form of vegetative propagation that overcomes these challenges to obtain desired characteristics in the resulting plant. One common application is using a disease-resistant rootstock or a rootstock suitable for a specific soil type. Grafting can also control the size of plants, such as in the case of dwarf fruit trees. Additionally, grafting allows us to multigraft, extending the fruiting season with several varieties of fruit on a single tree, or even change the variety entirely through a process called ‘topworking’.
What to Graft
To ensure a successful graft, the rootstock and the top, also known as the scion, must be compatible. They should belong to the same botanical species, though it’s sometimes possible to graft plants from the same botanical family - do your research to check compatibility before going to the effort of making a graft.
Grapes, many types of fruit trees and roses are commonly grafted plants. Many native plants are also grafted to rootstocks that allow them to grow without fuss on different soils to those found in their original habitats.
When to Graft
The timing of grafting plays a crucial role in the success of the process. Most grafting is performed in late winter before the buds begin to swell on deciduous trees. This timing allows the graft to take advantage of the plant's natural movement of fluids in early spring.
Types of Grafts
Scion grafting is the most common type of graft for home gardeners. It involves attaching a shoot (the scion) from the donor plant to the cut stem of the stock plant (the rootstock). Scion grafting is relatively easy to learn and includes several different grafts, including whip and tongue, notch, double-notch, and omega. This type of graft is typically done in late winter or early spring.
Bud grafting, on the other hand, involves attaching a bud from the donor plant under the bark of the stock plant. This technique requires more skill than scion grafting and is commonly used when the rootstock and donor sizes differ or when scion material is limited. It is also an economical choice for large-scale commercial producers. Bud grafting is usually performed in late summer.
Whichever type of graft is used, the aim is to align the cambium layers of the scion and rootstock to enable fluids to flow between the two parts of the plant. The cambium layer is the ring of bright green tissue found just under the bark of woody plants.
How to Use a Hand Held Grafting Tool
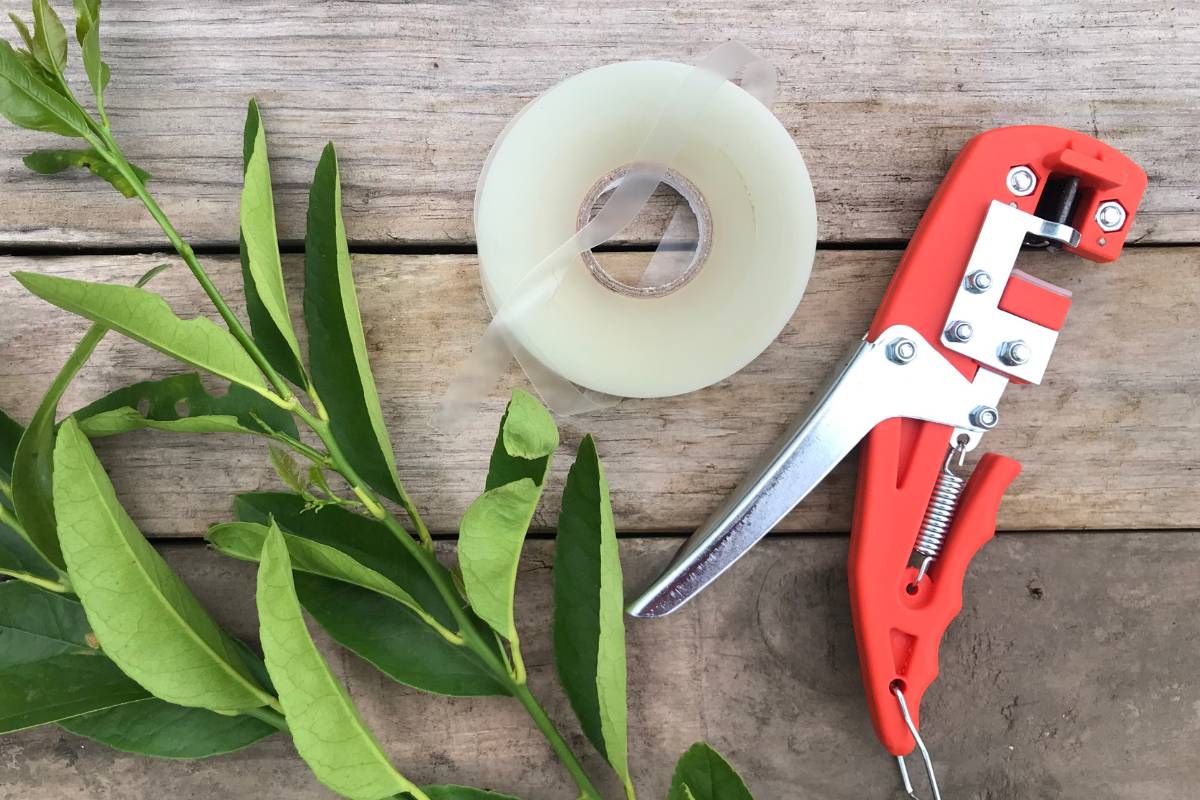
Using a hand held grafting tool makes the grafting process easy. Use this step-by-step guide to use the tool effectively.
Preparing the Cuttings
When cutting the scion and preparing the rootstock, match their diameters as closely as possible, with an ideal diameter of between 0.5cm and 1.5cm. This close match ensures maximum surface area for the cambium layers to come into contact and join together.
Both the scion and the rootstock should be adequately hydrated before grafting. Stressed plants are less likely to heal well, so cut the shoots from well hydrated plants and keep cuttings out of direct sunlight, or even in the fridge, until they are used.
The scion should be a 10-15cm length of woody branch with 2 to 3 buds. Prune off the top leaves and stem to get the correct diameter. Prepare the scion and the rootstock by removing leaves and side branches. For the graft to take the pieces must be joined in their original orientation; mark the top end of the scion or leave a few leaves at the top end of the cutting to avoid attaching it upside down.
Using the Tool
Prioritise hygiene by wiping the tool's blades with alcohol or bleach before use. This step helps prevent the introduction of bacteria to the cut surfaces.
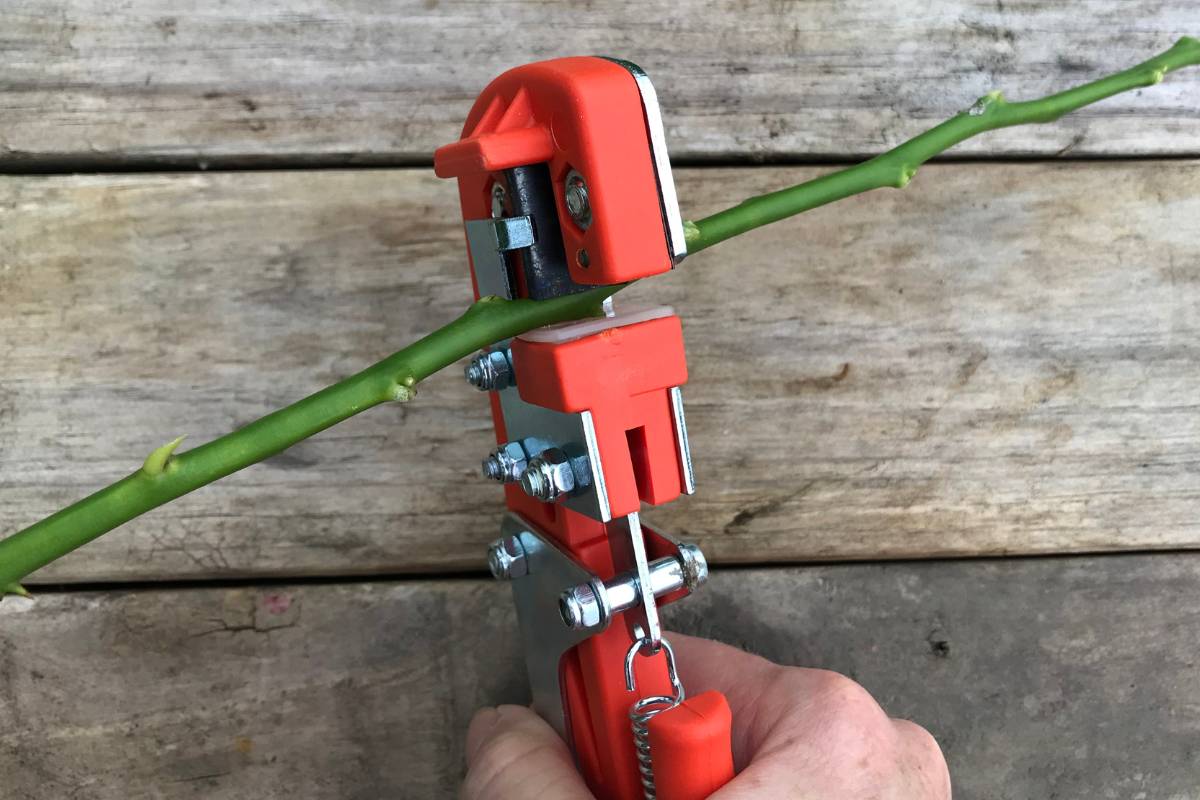
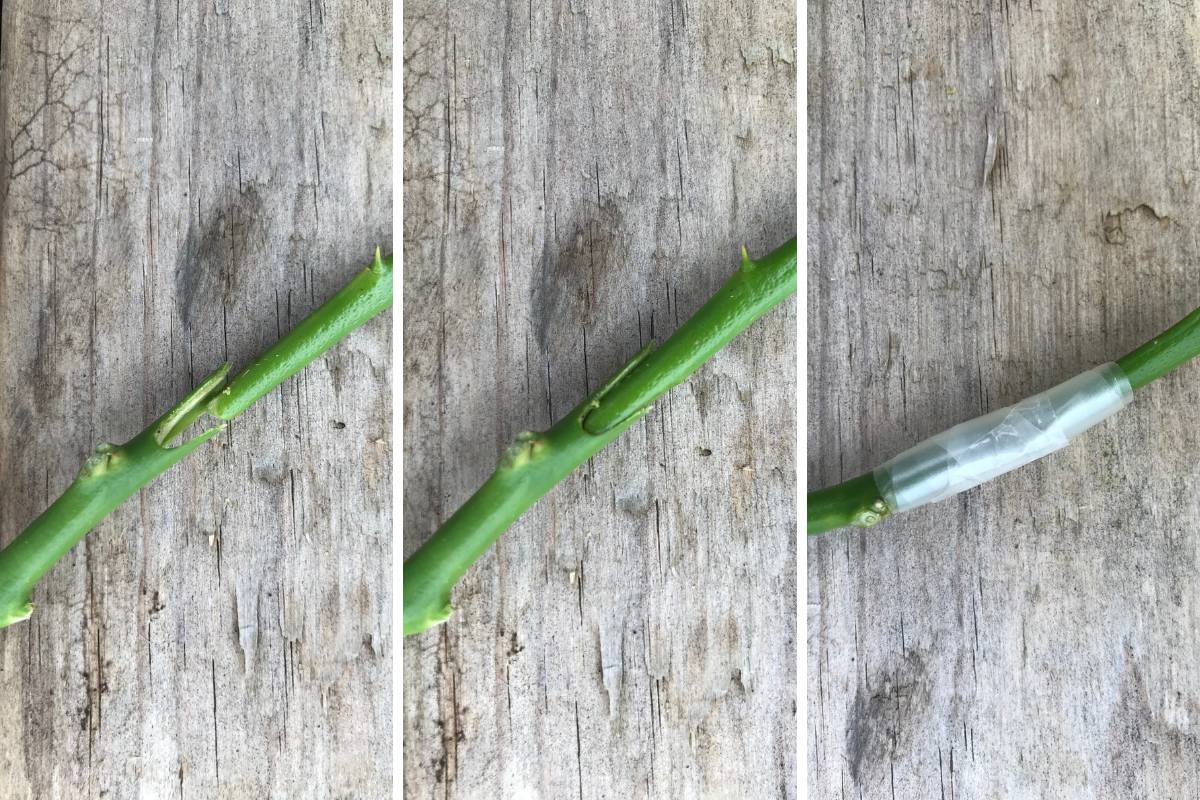
- Hold the rootstock in the grafting tool, ensuring that the cut will be made on an area of stem that’s clear of buds. Squeeze the handle of the tool to make the cut. Repeat this step for the scion.
- Slide the scion into the groove of the stock plant, making sure the cut surfaces match as closely as possible. If the sizes of the stock and donor plants differ, match only one side.
- Use grafting tape to bind the join and the stem a couple of centimetres either side of it securely. Optionally, grafting wax or Tree Stac can be applied under the tape as an additional safeguard. This protective layer stabilises the join and prevents bacteria entering the wound.
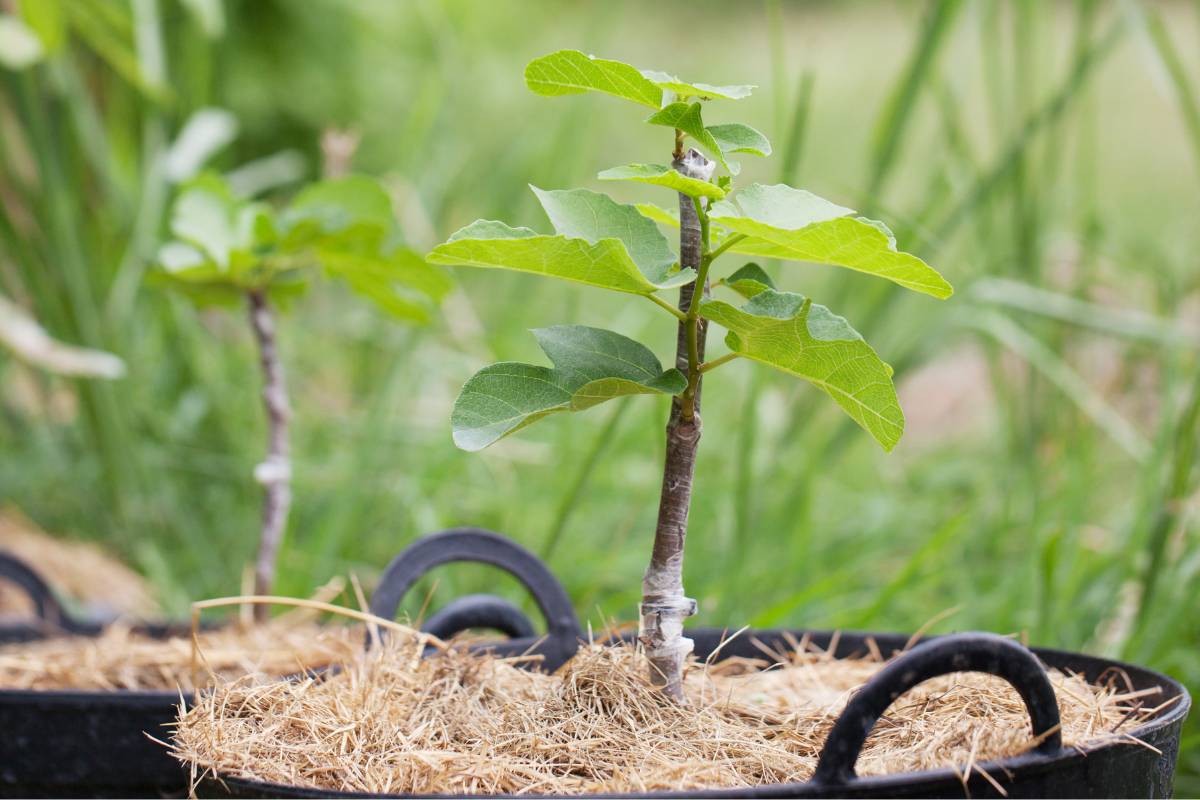
- Allow the rootstock to grow as usual while the graft union heals. Once the graft has healed and there is new growth on the scion, prune off the leaves and sideshoots on the rootstock.
- Once there is significant new growth on the scion and you're confident that the graft has taken, remove the tape. This step stops the unintentional ringbarking or restriction of fluid around the plant.
Grafting is a fascinating technique that allows us to combine the desirable characteristics of different plants, allowing gardeners to grow a wider variety of fruit with rootstock that’s better suited to their soil or climate. With the help of modern grafting tools, even beginners can embark on this rewarding horticultural endeavour. So roll up your sleeves, grab a grafting tool and unlock the potential of this traditional technique. Happy grafting!


