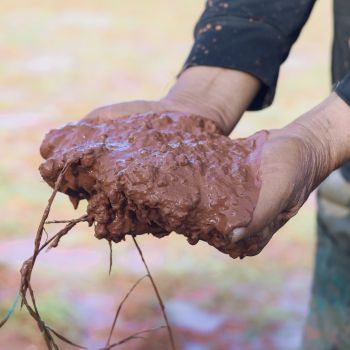
Sometimes called ‘compost tea’, 'liquid manure' or 'manure tea', homemade liquid fertiliser is very easily prepared and is an ideal source of nutrients to give your plants a boost during the growing season.
The method is really quite simple; all we need to do is soak manure and/or weeds in water over a period of a few weeks. The water slowly absorbs the nutrients creating an ideal fertiliser that will be readily taken up by a plants root system. It's best applied diluted to the soil around a plant or very weakly to new seedlings.

What you need
To make liquid manure you will need:
- A container such as a bucket, old garbage bin or drum
- Animal manure and/or weeds
- A mesh bag and some string. A hessian sack, an old stocking or an old tea towel would make suitable ‘mesh bags'.
- Water. If possible it's best to use rain water for homemade liquid fertilisers. The theory being that mains water may contain chlorine which may slow the activity of micro-organisms that are beneficial to the process. If you don't have access to rainwater don't fret, just fill your container with mains water a few days before you plan to make your 'brew' and leave uncovered; any chlorine should dissipate.
What to do
- Put a quantity of manure and/or weeds in your bag or in the middle of a piece of cloth and tie with the string to make a ‘tea bag’.
- Put the bag into your container with the string hanging over the side. You may also want to suspend the 'tea bag' using an additional pole as a support.
- Now add water to nearly fill the container
- A couple of times a day give your ‘tea bag’ a jiggle to help ‘brew’ it.
- After a couple of weeks you can start using your ‘brew’.

How to use you liquid fertiliser
Dilute the liquid to the strength of weak tea in a watering can or bucket and use to water around your plants. A normal dilution is around 1:10, 1 part fertiliser to 10 parts water. If you have made a strong brew use more water, if the brew is weak, use less.
Liquid manure can be used about every week or ten days and should be applied to the soil. If the soil is dry, water it first. Strong healthy plants will be more resistant to attack from pests or diseases.
Liquid manure contains microorganisms including bacteria so try not to apply it to any plants parts that you intend to eat. Additionally it's generally a good idea not to apply the fertiliser to any plants just before harvest to avoid any risk of contamination and as always wash all produce thoroughly before eating. As with any other fertiliser, personal hygiene is also important; always wash your hands after use!

Common Questions
- What weeds and manure can I use? Cow, chicken or sheep manure is recommended. Any weeds will work fine, in fact making 'liquid fertiliser' is a great way to 'recycle' the nutrients from weeds (especially invasive weeds like couch grass which can't be composted, without the need to throw them away in green waste), the plants are killed by drowning and the nutrients are reused in the garden. No waste!
- What do I do with the contents of my 'tea bag' once the 'brew' is ready? Any undissolved ingredients left in your 'tea bag' can simply be added to your compost heap.
- How do I know when it's ready? Your liquid fertiliser should be ready in around 2-3 weeks. During 'brewing' the liquid will probably have a foul odour, when ready this smell should lessen or disappear. Additionally the 'brew' should become a dark brown colour.


